 If you already have 20 tabs open — flights in one, hotels in another, and three different versions of the “perfect” itinerary — you’re not behind. You just need an order.
How early should I start planning a Japan trip? If you can, begin about three to six months before departure, especially for international flights, then fill in the details once your dates are set. Around 10 days is a comfortable starting point for a first trip. As for $5,000, it may be workable for a couple spending one week in Japan: for comparison, my 10-day plan is about ¥200,000 per person after arrival, based on two adults sharing rooms. International flights and souvenirs are separate, so the final answer depends heavily on airfare, season, and travel style.
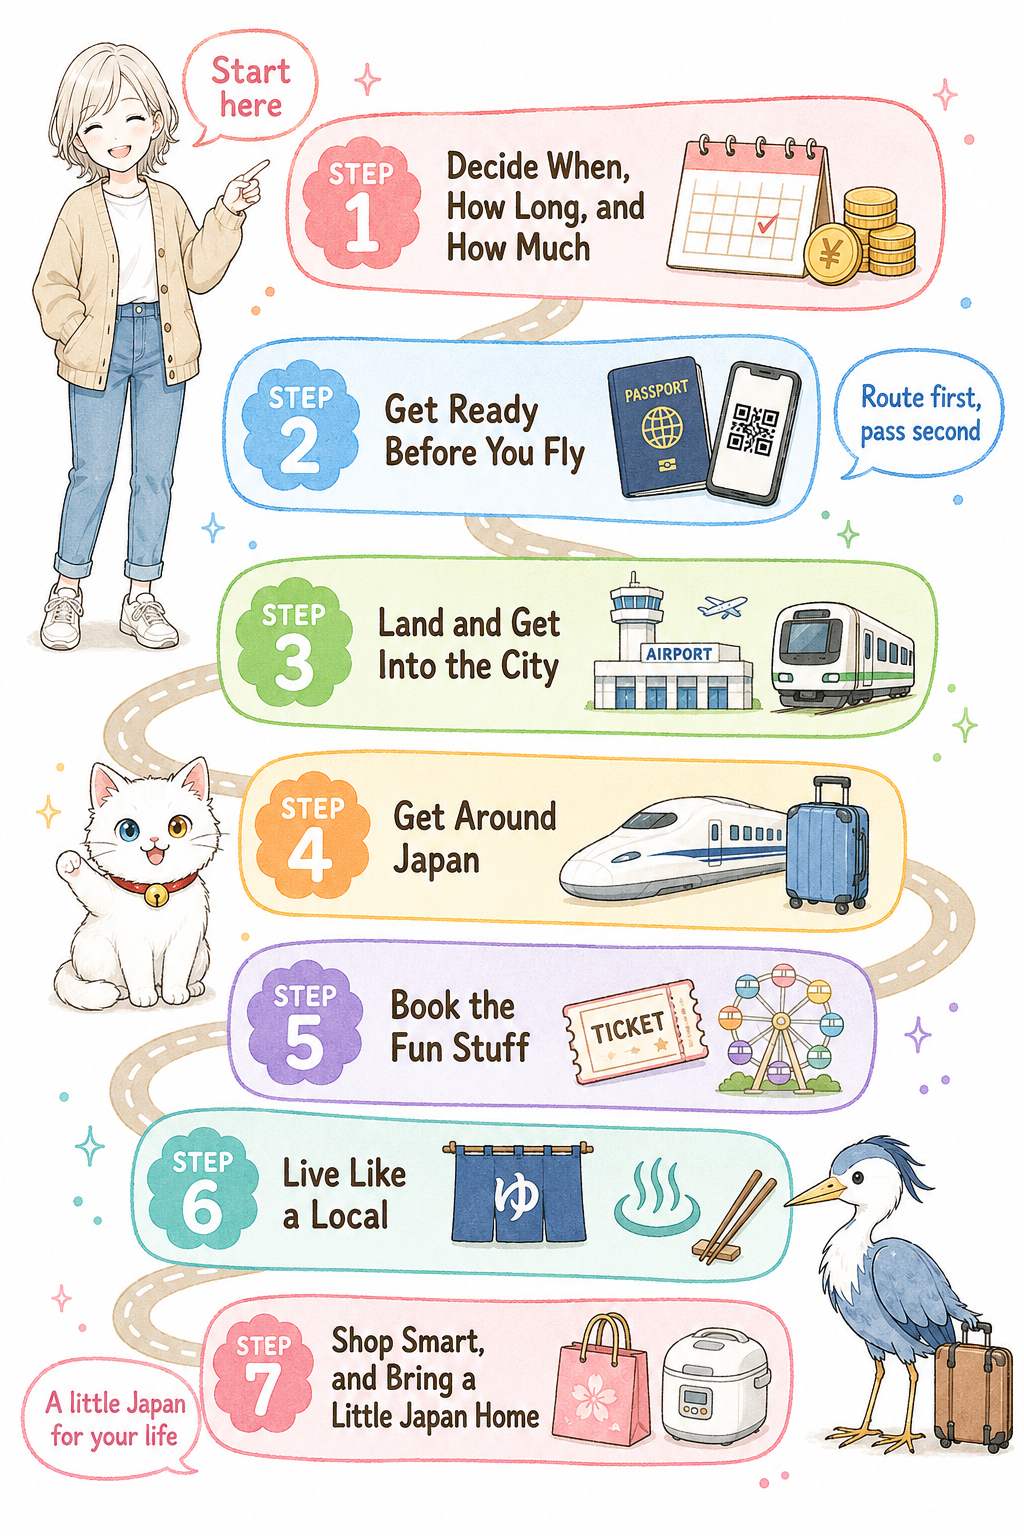
 This guide breaks your planning into seven steps, from choosing your dates and budget to getting around, booking the experiences you care about, and bringing a little Japan home. As you go, you’ll be able to see which step you’re on and open a detailed guide whenever you need a more specific answer.

Disclosure: This article contains affiliate links. If you book through one, I may earn a small commission at no extra cost to you.
In a hurry? Everything in this guide, in one list:
- Airalo Japan eSIM — data sorted before you land
- Klook Japan eSIM — the listing to price-check against
- 7-Day JR Pass — if the math works for your route
- USJ Studio Pass — the big day out
Each link is explained in its step below — book what fits your route.
STEP 1: Decide When, How Long, and How Much

 If you’re learning how to plan a trip to Japan on your own, start with three boundaries: when you’ll go, how many days you have, and how much you can spend. You don’t need to choose every hotel, train, or restaurant yet. These three decisions will shape almost everything that comes later.
Your season affects more than the clothes in your suitcase. It can change hotel prices, how early popular experiences fill up, and how comfortable a full day of walking feels. Once you have a rough month, trip length, and budget, comparing flights and hotels becomes much easier.
How Many Days Do You Need for a First Trip to Japan?
Around 10 days is a comfortable starting point for a first trip. It gives you enough time to connect several places without treating every train ride and hotel change as a race.
My 10-day plan follows a simple Tokyo–Hakone–Kyoto–Osaka route with one main activity each day. If you have seven days, choose fewer bases instead of squeezing the same route into a shorter schedule. More days give you room to slow down, but you don’t need to see all of Japan on your first visit.
Is ,000 Enough for a One-Week Trip to Japan?
It may be, but the number needs context. First decide whether your $5,000 includes international flights, because airfare varies widely depending on where you live, when you travel, and how early you book.
For a concrete starting point, my 10-day plan costs about ¥200,000 per person after arrival. It is based on two adults sharing rooms and includes accommodation, food, transportation within Japan, phone data, and major attractions; international flights and souvenirs are separate. Use that as a baseline, then adjust it for your season, hotel style, family size, and must-do experiences.
 When to Make These Decisions
Try to settle your travel month, approximate number of days, and working budget about three to six months before departure, especially if you still need to compare international flights. You can refine the smaller details later, but deciding these three things first keeps you from building an itinerary that does not fit your time or budget.
Once your dates are fixed, book your flights and start comparing hotels. Check the fare conditions, room size, cancellation policy, and location carefully before paying.
If USJ or another date-specific attraction is a must for you, check STEP 5 as soon as your travel dates are firm. Some tickets need attention around two months before your visit and may sell out before the final pre-departure stage.
 A Note from YUU
On family trips, the first three things I decide are the season, the number of days, and the budget. Once those are fixed, it becomes much easier to judge which plans fit and which ones should wait for another trip. I keep international airfare separate from the in-Japan budget because it changes so much depending on where your journey begins. That way, the numbers in my Japan plan remain useful even if your flight price is completely different.
Read These Guides for STEP 1
- 10-Day Japan Itinerary on a Budget: The Full ¥200,000 Cost Breakdown (2026)
See how accommodation, food, transportation, attractions, and phone data fit into a practical ¥200,000-per-person plan. - Japan Travel in 2026: Price Hikes, New Rules & What You Need to Know
Check the 2026 price increases and rule changes that may affect your budget and preparations. - What to Wear in Japan in October (2026): A Japanese Mom’s Fall Packing Guide
Use autumn as a seasonal example and see how your exact month and travel dates affect what you should pack. - What to Wear in Japan in December & Winter: A Japanese Mom’s Real Guide
Traveling between December and February? Compare real temperatures for Tokyo, Kyoto, Osaka, and Sapporo before you pack.
STEP 2: Get Ready Before You Fly
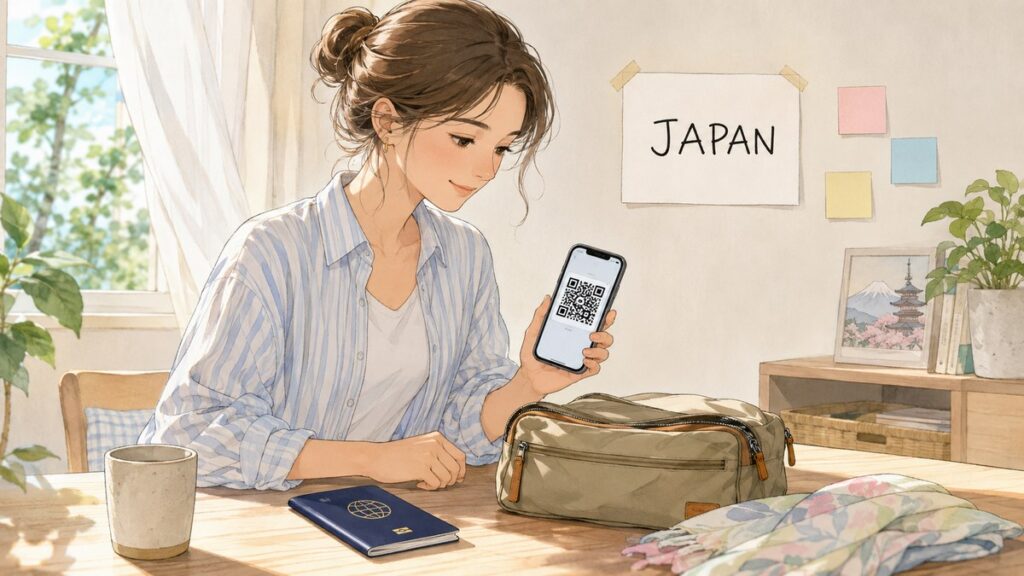
 With your dates and budget in place, move on to the jobs that are easier to finish while you’re still at home: arrival paperwork, phone data, and a plan for your luggage. A little preparation now can remove three common problems from your first day in Japan.
Complete Visit Japan Web Before You Leave
Visit Japan Web is the Japanese government’s free, optional service for submitting your immigration and customs information online. Registration takes about 15 minutes, and Visit Japan Web generates one QR code for each traveler, covering both procedures.
One adult can add accompanying family members to the same account, but every traveler — including children — still receives an individual QR code. Save a screenshot of each code before you fly so you can display it even if your phone has no connection when you land.
Set Up Your Phone Before Landing
Choose your eSIM or other connection method before departure, while you still have reliable Wi-Fi and time to fix a setup problem. Don’t compare providers by price alone. Check which Japanese network the plan uses, how much data it includes, whether it is data-only, and whether your family will stay together or split up during the day.
If you have narrowed it down to the two names most travelers see first, Airalo vs Ubigi in Japan compares them on exactly that point — which Japanese network each one runs on.
Before buying an eSIM, confirm that your phone supports it and is not locked to your home carrier. You can usually buy and install the profile at home, but check when your provider starts counting the plan — some begin when the eSIM first connects in Japan, while others may begin at installation.
 Check current Airalo Japan eSIM prices → (a solid first eSIM with 24/7 support) or compare Klook’s Japan eSIM → if you’re already booking tickets there.
Decide Whether Luggage Forwarding Fits Your Route
You do not need to send every suitcase on every travel day. Look for the difficult parts of your route: changing cities with large bags, navigating several train transfers, sightseeing between hotel stays, or traveling with small children and a stroller.
If you plan to use luggage forwarding between hotels, confirm that the first hotel can send the bag and the next hotel will accept it. Standard delivery usually takes one or two days, so plan to keep medication, passports, chargers, valuables, and at least one change of clothes in a smaller overnight bag.
When to Do This
The final one to two weeks before departure is a practical time to complete Visit Japan Web, set up your phone connection, and check your luggage plan. Visit Japan Web has no published registration deadline, so this is a planning recommendation rather than a rule. For luggage forwarding, decide where it may help once your hotels are fixed, then confirm the exact delivery date for your route before handing over the bag.
A Note from YUU
When my family travels to my parents’ place, I send our bags ahead. The biggest benefit is not simply avoiding a heavy suitcase — it is having my hands free to help my children during the journey. I would not pay to send every bag on every easy trip, but on a difficult travel day, it can change the whole pace of the day.
Read These Guides for STEP 2
- Visit Japan Web Guide 2026: Step-by-Step for Families
Learn how to register your trip, add children, save each traveler’s QR code, and use it after landing. - Best eSIM for Japan in 2026: A Japanese Local’s Honest Comparison
Compare seven eSIM providers, the Japanese networks behind them, data allowances, and options for solo travelers and families. - Luggage Forwarding in Japan: Is It Worth It? Costs, Timing & Hotel-to-Hotel Guide (2026)
See current cost examples, delivery timing, hotel-to-hotel steps, and the travel days when sending your suitcase is genuinely useful.
Check Your Medicines Before You Fly
Some everyday medicines cannot be brought into Japan, and the rules depend on the exact ingredient and concentration rather than the brand name. Check what you are packing before you fly, and know how a clinic visit works and what it can cost if you do get sick while travelling.
Getting Sick in Japan: What It Actually Costs, and What You Can’t Bring →
STEP 3: Land and Get Into the City
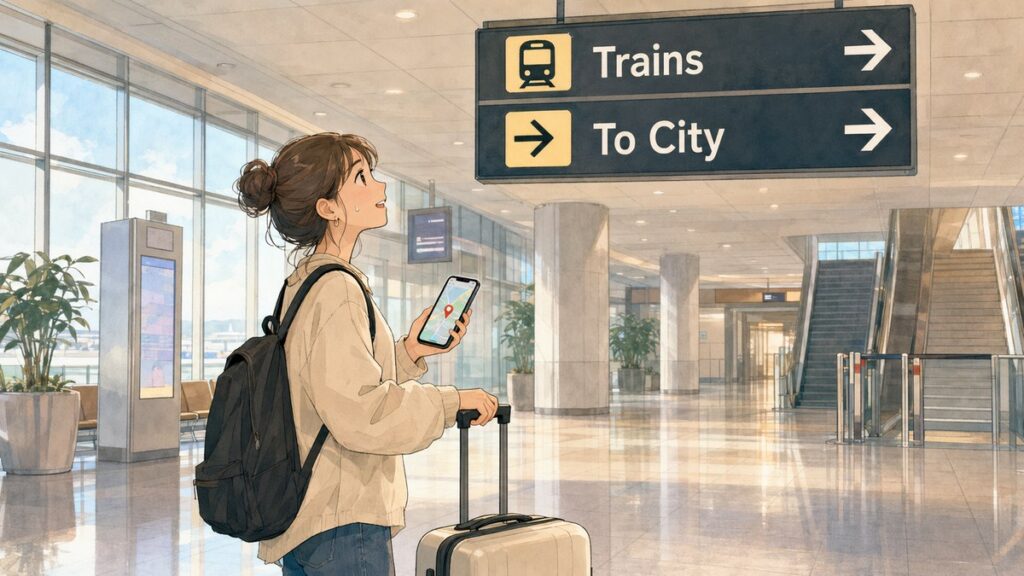
 Before you land, decide how you’ll travel from the airport to the area around your hotel. There is no single “best airport train” for every visitor. The right answer depends on which airport you use, where your hotel is, how much luggage you have, and whether you want the lowest price or the fewest transfers.
Save the name and address of your hotel in both English and Japanese, along with its nearest station. That one detail will make the transport options much easier to compare.
From Narita Airport to Tokyo
If you land at Narita Airport, choose your route by your hotel area rather than by the train name you recognize first. The Narita Express, or N’EX, is a comfortable reserved-seat option for the destinations it serves directly, including Tokyo, Shibuya, and Shinjuku. The Keisei Skyliner runs to Nippori and Ueno; if you’re staying around Ueno, Asakusa, or Akihabara, it may be the better option, but compare the full route — including any transfers — before deciding.
There are also slower, lower-cost trains and airport buses. The best choice is the one that gets you close to your hotel without leaving you with a difficult transfer while jet-lagged and carrying luggage.
From Kansai Airport to Kyoto or Namba
At Kansai International Airport, your destination makes the choice much simpler. If you’re going to Kyoto, JR West’s Limited Express HARUKA runs directly to Kyoto Station and provides space for luggage.
If your hotel is near Namba, Shinsaibashi, or Dotonbori, choose the Rapi:t instead. It runs directly to Nankai Namba Station. Don’t buy an airport-train ticket until you have checked which station is actually closest to your hotel.
What About Haneda Airport?
Haneda Airport is much closer to central Tokyo than Narita, but the best rail or bus route still depends on your hotel. Check your terminal, arrival time, and hotel’s nearest station before choosing.
Choose an IC Card for Everyday Trips
An IC card such as Suica or Pasmo lets you tap through ticket gates on local trains, subways, and many buses. You can also use it for small purchases at convenience stores, vending machines, and other participating shops.
For many iPhone users, a mobile IC card is the simplest option. Travelers with an Android phone purchased outside Japan will usually find a physical card more reliable because many overseas Android models do not support Japan’s mobile transit-card system. Remember that an IC card does not automatically replace a separate limited-express or reserved-seat ticket when one is required.
When to Do This
Choose your airport-to-hotel route before your flight and save it on your phone. You do not need to memorize the whole railway system — just know your arrival terminal, the train or bus you plan to take, and the station where you will get off.
Check whether your chosen discount ticket must be purchased before arrival. For example, JR West’s discounted HARUKA One-way Ticket has to be purchased through JR-WEST ONLINE TRAIN RESERVATION or an eligible overseas seller before you enter Japan, although you collect the ticket after arrival. Other airport tickets can be bought on the day. Recheck the official timetable if your flight lands early in the morning or late at night.
Read These Guides for STEP 3
- Narita Airport to Tokyo: Is the Narita Express Worth It? (2026 Fare Guide)
Compare the N’EX, Skyliner, airport bus, lower-cost trains, and private transfers based on your hotel area, budget, and luggage. - Kansai Airport to Kyoto: Is the Haruka Express Worth It? (2026 Fare Guide)
Check the direct route to Kyoto, current fare options, the tourist discount, and what must be arranged before arrival. - Kansai Airport to Namba: Is the Rapi:t Worth It? (2026 Fare Guide)
See how the reserved-seat Rapi:t works, where it arrives in Namba, and which ticket option fits your trip. - Suica vs Pasmo for Tourists (2026): Mobile App or Physical Card?
Choose between mobile and physical IC cards based on your phone, trip length, and whether you’re traveling with children.
STEP 4: Get Around Japan
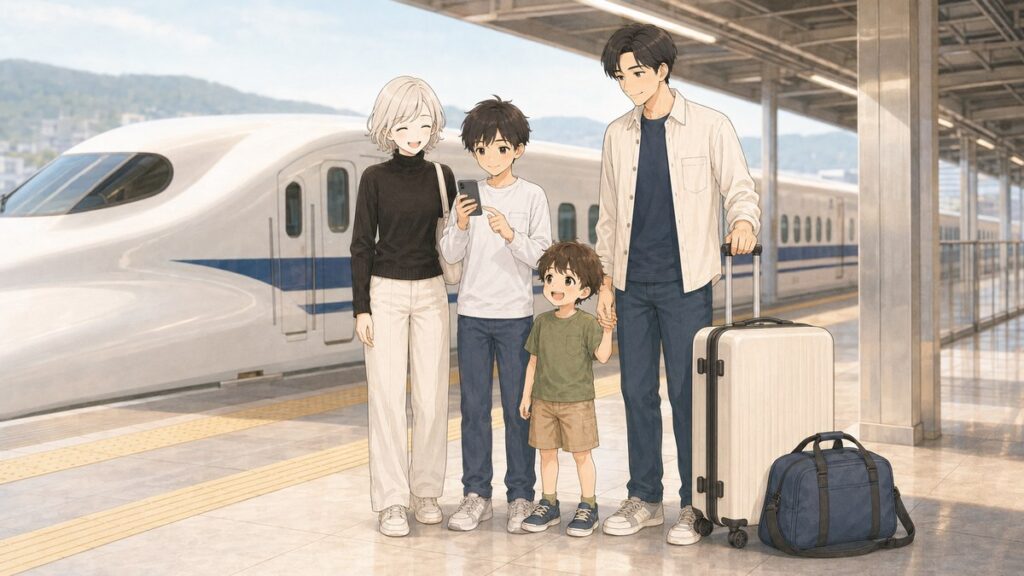
Once you know which cities you’ll visit, plan how you’ll move between them. Start with your route, not with a rail pass. Buying a pass first can leave you adding unnecessary train journeys just to make the ticket feel worthwhile.
For each city-to-city day, check the train, approximate fare, number of transfers, and what you’ll do with your luggage. A slightly more expensive route with fewer transfers may be the better choice after a long sightseeing day or when you’re traveling with children.
Calculate Before Buying a JR Pass
The nationwide Japan Rail Pass is no longer an automatic money-saver for a first trip. A classic Tokyo–Kyoto–Osaka itinerary, especially one that ends in Kansai instead of returning to Tokyo, will often cost less with individual tickets.
A large loop across several regions is more likely to make the nationwide pass worthwhile. If most of your trip stays within one area, check the regional passes instead. Always add up the rides in your own itinerary before buying, because pass prices, coverage, and purchasing rules can change.
If the math says yes for your route, you can check current JR Pass prices on Klook →
Plan Your Seats and Luggage Together
When you choose a Shinkansen, or bullet train, think about your seat and suitcase at the same time. On the Tokaido, Sanyo, and Kyushu Shinkansen, baggage with total dimensions of 161 to 250 cm requires a reservation for a seat with an oversized-baggage area. There is no additional charge for the space, but you must reserve an appropriate seat before boarding. Baggage measuring more than 250 cm in total cannot be brought aboard.
Your other option is to send the large suitcase ahead and travel with a smaller overnight bag. Luggage forwarding is most useful on difficult city-change days, not automatically on every part of your trip. Check the delivery time for your exact route and keep your passport, medication, valuables, chargers, and anything you’ll need overnight with you.
Traveling with a Stroller or a Small Child
Trains and the Shinkansen let you bring a stroller without folding it, but station elevators, temple steps, and summer heat decide whether you’ll be glad you brought one. Work it out by your child’s age and your route before you pack it.
Do you really need a stroller in Japan? →
Traveling with Kids: Fares, Food, and Everyday Practicalities
Child train fares, restaurants that actually work with children, where to buy diapers and formula, what to do if your child gets sick, and how Japanese hotels handle bed-sharing.
Read the full guide to Japan with kids →
Use Suica or Pasmo for Local Rides
Keep using your Suica, Pasmo, or another compatible IC card for ordinary trains, subways, and buses within cities. Think of it as your everyday transport wallet, not as a replacement for a Shinkansen ticket, a reserved-seat ticket, or a national rail pass.
When to Do This
Compare long-distance tickets and rail passes after your cities and hotel dates are fixed, but before buying a pass. A few weeks before departure gives you time to check the latest prices, decide which seats you need, and confirm whether any regional pass fits your route.
Mark the difficult travel days on your itinerary at the same time. If one includes several transfers, sightseeing between hotels, or small children and large bags, decide whether the suitcase should travel separately.
A Note from YUU
On a family trip, I would rather choose a route with fewer transfers than add extra train journeys just to get more value from a pass. A rail pass should fit the trip you want — your trip should not be stretched to fit the pass. On a difficult travel day, sending the suitcase ahead may help your family more than buying a different ticket.
Read These Guides for STEP 4
- Is the JR Pass Worth It in 2026? A Japanese Mom Does the Math (+ Seat Tips)
Compare common itinerary patterns, calculate whether the nationwide or a regional pass pays off, and choose seats for views, children, and large luggage. - Luggage Forwarding in Japan: Is It Worth It? Costs, Timing & Hotel-to-Hotel Guide (2026)
Decide which city-change days are worth traveling without your main suitcase and learn how hotel-to-hotel delivery works. - Suica vs Pasmo for Tourists (2026): Mobile App or Physical Card?
Use your IC card for everyday local transportation while keeping long-distance and reserved-seat tickets separate.
STEP 5: Book the Fun Stuff

 Once your route is settled, book the experiences that would genuinely disappoint you if they sold out. You do not need a reservation for every hour of your trip. Start with the one or two days that depend on limited tickets, timed entry, or a date-specific pass.
For many first-time visitors, Universal Studios Japan is one of those days. Before buying anything, decide which attractions matter to your group, how long you’re willing to wait, and whether everyone can ride the attractions included in the pass.
Decide Whether an Express Pass Fits Your USJ Day
A Universal Express Pass reduces the regular wait for a specific set of attractions, but it does not include admission to the park. You still need a separate Studio Pass for the same date.
Do not choose an Express Pass by its number alone. Open the details and check the actual ride list, the assigned time slots, height restrictions for children, and whether it includes guaranteed timed entry to Super Nintendo World if that area is important to you. A lower-numbered pass covering the rides your family wants can be more useful than a larger pass filled with attractions you’ll skip.
You can also visit without an Express Pass, especially if your date is flexible and you’re comfortable arriving early. An Express Pass buys time and predictability, but it is not the only way to have a good day at USJ.
Whatever you decide about the Express Pass, you’ll need the park ticket: check current USJ Studio Pass prices on Klook →
Check Whether Your Visit Falls During Halloween
Halloween changes the decision because USJ adds seasonal attractions while most regular rides continue operating. A standard Express Pass may cover the usual rides without including the horror attractions, while Halloween-specific sets are built around particular seasonal experiences.
Check the complete attraction list, age restrictions, and operating times before buying. This matters especially for families because some Halloween attractions have firm age limits, and the atmosphere in parts of the park changes in the evening. If horror is not right for your group, plan around the daytime family activities and decide when you want to leave.
When to Do This
Start checking tickets once your Osaka dates are firm. Many Express Passes are released around two months before the visit date, but the exact release schedule varies by product.
Popular dates can sell out in advance, so do not leave a must-have Express Pass until you reach the park. Before paying, confirm the date, the separate Studio Pass, the ride list, the time slots, and the cancellation or change conditions shown by the seller.
A Note from YUU
My family goes to USJ about twice a year. Because my youngest cannot ride many attractions yet, I check the height restrictions and the actual ride list before looking at the pass number or price. We have not visited during Halloween season because I have a small child and do not enjoy horror, so families like mine should focus on daytime attractions and decide in advance when to leave in the evening.
Read These Guides for STEP 5
- Universal Studios Japan Express Pass: Worth It? Which One to Buy? (2026 Guide)
Decide whether you need an Express Pass, compare the available types, check ride and height restrictions, and make a plan if you choose not to buy one. - USJ Halloween 2026: Do You Need an Express Pass?
Check the seasonal attractions, age limits, family considerations, ticket rules, and which type of pass matches the parts of Halloween you want to experience.
STEP 6: Live Like a Local
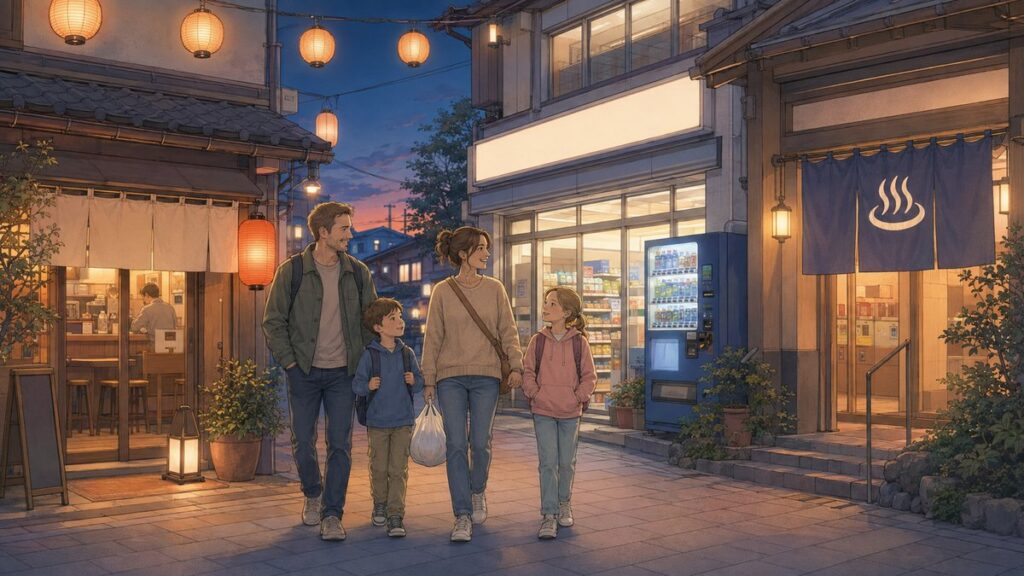
 You do not need to memorize every Japanese custom before your trip. A few everyday patterns will help you feel much more comfortable: how to get someone’s attention, what to do when you enter a restaurant, where to keep your trash, and how to use a public bath.
The goal is not to behave perfectly. It is to notice the people around you, follow the flow of the place, and know where to look when something feels unfamiliar.
Learn One Word That Opens Doors
If you learn only one Japanese word, make it sumimasen. It can mean “excuse me,” “sorry,” or a polite acknowledgment when someone has helped you.
Use it to call restaurant staff, move through a crowded train, or begin asking for directions. You do not need perfect pronunciation. Say it with a small nod, then use a gesture, menu, or map on your phone to show what you need.
Follow the Flow in Restaurants and Convenience Stores
At a Japanese restaurant, the safest first move is to wait near the entrance until a staff member seats you or tells you where to wait. Ordering may happen through a staff member, tablet, call button, QR code, or ticket machine, so look at what the restaurant provides instead of expecting one universal system. When you finish, you will often take the bill to the register, and tipping is not normally required.
Convenience stores have their own small habits. Check signs or ask before using the toilet, follow the checkout tray or payment screen, and use an eat-in area when the store provides one. If you use a customer trash bin, keep it for appropriate waste rather than bringing in unrelated rubbish from somewhere else.
Carry a Small Bag for Your Trash
Public trash cans can be difficult to find in Japan, even on very clean streets. Carrying a small bag for wrappers and other dry waste is the simplest solution.
Use a bin at the shop or food stall where you bought something when one is provided. Vending-machine collection boxes are generally for the drink containers shown on their labels, not for ordinary trash. If you do not find an appropriate bin, take the waste back to your accommodation and follow its sorting instructions.
Know the Onsen Basics Before You Undress
For a first visit to an onsen (hot spring bath), sento (public bath), or super sento (large bath complex), remember three basics: wash and rinse before entering the bath, keep your small towel out of the water, and keep your voice low. That is enough to get the most important etiquette right.
Tattoo policies vary, so check the specific facility before you go. Some places accept tattoos, some allow approved covers, and others offer private baths. Knowing the policy in advance is much easier than discovering it at the entrance.
Give Your Feet a Plan for the Evening
Long station corridors, temple paths, stairs, and full sightseeing days can leave your feet sore even when you wear sensible shoes. For ordinary end-of-day tiredness, stop walking, take a bath or shower, drink some water, and give yourself time to rest.
Japanese drugstores sell cooling foot sheets, steam eye masks, and sheet masks that can turn the end of the day into a simple hotel routine. These are comfort items, not treatments for an injury or severe pain.
When to Do This
Read the basic etiquette guides shortly before departure, when the advice will still be easy to remember. Save the onsen guide if a public bath is already in your itinerary, and check that facility’s current tattoo and family policies before visiting.
You can buy the optional hotel comfort items after arriving, preferably while you’re already passing a drugstore. Waiting until your feet hurt and you have taken off your shoes makes another shopping trip much less appealing.
A Note from YUU
As a Japanese mom, I want you to know that you do not need to follow every custom perfectly to be considerate. The habits that matter most are simple: pause, look at how the place works, and show consideration for the people around you. When you’re unsure, a small nod and sumimasen will carry you through many everyday situations.
Read These Guides for STEP 6
- Sumimasen: The Magic Word That Solves Almost Everything in Japan (From a Japanese Mom)
Learn how one word can help you call staff, apologize, ask for directions, and respond to small acts of kindness. - Japanese Restaurant Etiquette: What to Know from Entering to Paying (From a Japanese Mom)
Follow the meal in order, from waiting at the entrance and ordering to chopstick basics, paying, and dining with children. - Japanese Convenience Store Etiquette: 5 Unwritten Rules (From a Japanese Mom)
Understand the small habits around toilets, checkout trays, eat-in areas, purchases, and customer trash bins. - Why Are There So Few Trash Cans in Japan? 5 Things Locals Do (From a Japanese Mom)
Learn where travel waste can go and why carrying a small bag is the most reliable solution. - Japanese Onsen Guide for First-Timers: Etiquette, What to Bring, and How to Bathe Like a Local
Walk through your first public bath from the entrance to the changing room, washing area, bath, and after-bath routine. - Sore Feet in Japan? The ¥1,500 Hotel Recovery Routine (From a Japanese Mom)
Build a simple Japanese drugstore comfort kit for ordinary end-of-day soreness and a calmer evening at your hotel.
STEP 7: Shop Smart, and Bring a Little Japan Home

Shopping in Japan can be part of the trip, but it does not need to become a race through every famous store. Start with products that solve a real problem for you: sunscreen you’ll use, cooling sheets for a hot day, or something that will remain useful after you return home.
Before planning a large purchase, understand the tax-free rules for your travel dates. Then compare the exact product, model, size, and intended use instead of choosing only by a familiar brand name or colorful package.
Understand Tax-Free Shopping Before You Buy
Japan’s tax-free system changes for purchases made on or after November 1, 2026. Before that date, eligible purchases follow the current system, in which the tax saving is normally handled at the store. From November 1, you pay the tax-inclusive price first, complete customs confirmation when leaving Japan, and receive the refund through the store or its refund partner.
The new system also makes airport planning more important. Keep all of your tax-free purchases accessible and complete the required departure procedure before checking in any baggage. Customs may ask to inspect the goods. Refund timing, methods, and possible fees can differ by retailer, so check the terms when you buy.
Tax-free shopping is not always worth extra queues and paperwork for a small purchase. Use it when the saving is meaningful to you, and skip it without guilt when it would take more time than it saves.
Choose Japanese Products by How You’ll Use Them
Japanese drugstores can feel overwhelming because one shelf may hold dozens of similar-looking products. Begin with your own situation instead of the most famous bottle.
For sunscreen, choose according to your skin, budget, and plans. Anessa and Biore UV may have similar protection ratings, but they suit different kinds of days: demanding outdoor plans and ordinary daily use are not the same job. A wider sunscreen guide can help if neither one fits what you need.
In summer, cooling body sheets are a small product you can use during the trip and take home afterward. Check whether you want stronger cooling, a slimmer pack, an unscented option, or a particular fragrance rather than assuming every icy-looking package feels the same.
If skincare is what you came for, my guide to Japanese drugstore skincare walks through seven products I use at home, what each one costs in yen and dollars, which shop to try, and how to buy the same items once you are back home.
Bring Home Something That Fits Your Life
Sometimes “bringing Japan home” means buying a small product you’ll continue using. Other times, it means learning a habit or choosing a home appliance that reminds you of what you enjoyed here.
A Japanese rice cooker is a good example, but do not assume a domestic model bought in Japan will work safely in your country. Japanese domestic models are designed for 100V, and similar-looking overseas models may have different voltage, settings, and warranty terms. Check the complete model number and buy a version intended for the market where you live.
A Japanese kitchen knife is another example worth checking carefully, because many highly rated “Japanese” knives sold online are not made in Japan at all. My guide to telling real Japanese knives from Japanese-style ones shows you how to check the origin yourself before you buy.
The goal is not to return with the fullest suitcase. It is to find one useful part of Japan that still makes your everyday life a little better after the trip — A little Japan for your life.
When to Do This
Buy items you’ll use during the trip, such as sunscreen or cooling sheets, when you first need them. Save larger souvenir and tax-free shopping for a day when you have enough time to compare products and complete the store’s procedure without rushing.
Before departure, check how the tax-free system applies to your purchase dates and leave extra time for any required customs confirmation. Research voltage, compatibility, and warranty conditions before buying an appliance, not after it is already in your suitcase.
A Note from YUU
I would rather help you find one product you will genuinely use than send you home with a suitcase full of trends. Ask what problem the item solves, how often you’ll use it, and whether the exact version suits your country or lifestyle. The best souvenir is not always the most famous one — it is the one that earns a place in your everyday life.
Read These Guides for STEP 7
- Japan Tax-Free Shopping Guide 2026: Rules, Passport, and the New November Refund System
Check eligibility, minimum spending rules, passport requirements, store procedures, and what changes for purchases from November 1, 2026. - Best Japanese Sunscreens to Buy in Japan (2026 Guide)
Compare Japanese sunscreens by skin type, budget, activity, family needs, and where they are commonly available. - Anessa vs Biore UV: Which Japanese Sunscreen Should You Buy? (From a Japanese Mom)
Choose between a premium sunscreen for demanding outdoor days and an affordable option for everyday use. - Japanese Cooling Body Sheets: Biore vs. Gatsby, Tested in the Summer Heat (From a Japanese Mom)
Compare cooling strength, duration, sheet thickness, pack size, scents, and where to buy each type. - Is a Zojirushi Rice Cooker Worth It? An Honest Guide From a Japanese Mom
Decide whether a higher-end rice cooker fits your habits and check settings, capacity, voltage, model numbers, and warranty conditions before buying.
Where Are You in Your Planning?
You do not need to complete all seven steps today. Find the first step that still feels unfinished, open the guide linked there, and move forward one decision at a time.
You may still be choosing your dates and budget, or you may already be thinking about what to buy before you fly home. Either way, you now know what comes next.
Start STEP 2: Check Japan eSIM prices on Airalo
Which step are you on right now? Tell me in the comments — I’d love to know how far your Japan planning has come.
I hope this guide has answered one of your questions and helped you feel a little closer to Japan. May your Japan journey be filled with wonderful discoveries and memories you’ll treasure for years to come.
See you in the next guide.